Canvas 线条样式设置
一、基本样式
1、线条宽度
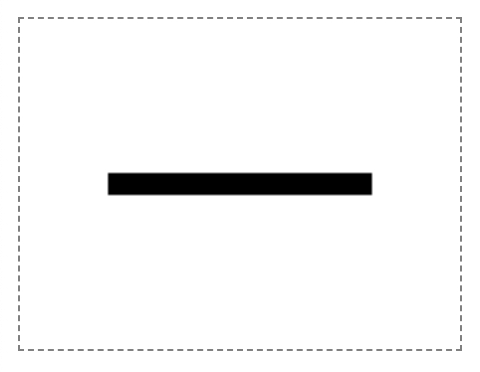
通过 lineWidth 设置线条宽度。
示例:
ctx.moveTo(40, 75)
ctx.lineTo(160, 75)
ctx.lineWidth = 10
ctx.stroke()
效果如下:
2、线帽样式
通过 lineCap 设置线帽样式,可选值:
butt(默认):无线帽round:圆形线帽square:正方形线帽
示例:
ctx.beginPath();
ctx.moveTo(40, 55)
ctx.lineTo(160, 55)
ctx.lineWidth = 10
ctx.stroke()

ctx.beginPath();
ctx.moveTo(40, 75)
ctx.lineTo(160, 75)
ctx.lineWidth = 10
ctx.lineCap = 'round'
ctx.stroke()

ctx.beginPath();
ctx.moveTo(40, 95)
ctx.lineTo(160, 95)
ctx.lineWidth = 10
ctx.lineCap = 'square'
ctx.stroke()
效果如下:
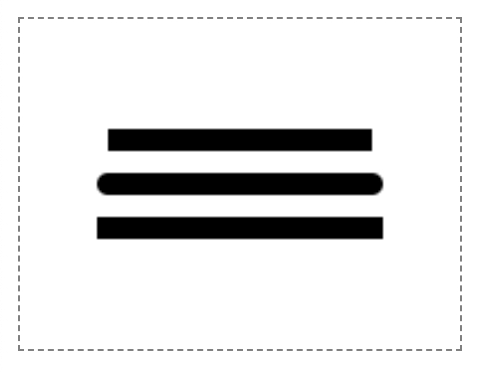
其中,round 和 square 线帽会略长一些,多出的长度计算如下:
round,多出的半圆的直径为线宽长度;square,多出的长方形的长度为线宽的一半,高度保持为线宽长度。
3、线条交接处样式
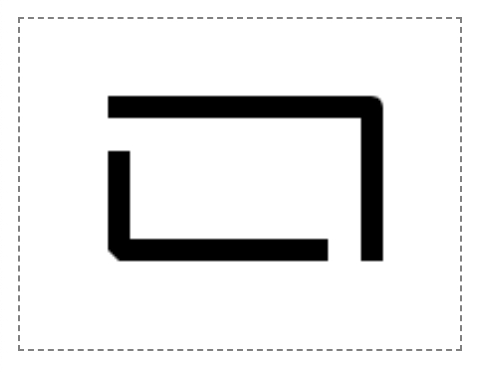
通过 lineJoin 设置两个线条交接处的样式,可选值:
miter(默认):尖角round:圆角bevel:斜角
示例:
ctx.beginPath();
ctx.moveTo(40, 40)
ctx.lineTo(160, 40)
ctx.lineTo(160, 110)
ctx.lineWidth = 10
ctx.lineJoin = 'round'
ctx.stroke()

ctx.beginPath();
ctx.moveTo(45, 60)
ctx.lineTo(45, 105)
ctx.lineTo(140, 105)
ctx.lineWidth = 10
ctx.lineJoin = 'bevel'
ctx.stroke()
效果如下:
二、虚线样式
1、设置虚线
setLineDash() 用于设置线条的虚线样式:
context.setLineDash(array)
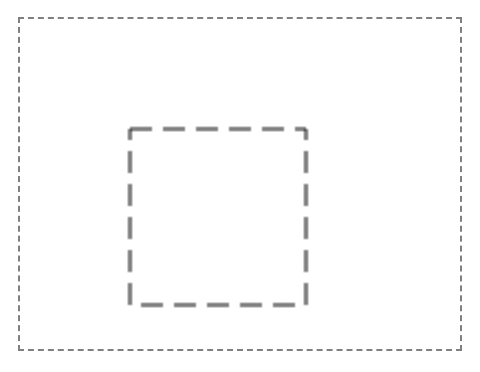
参数 array 是一个数组组合,常见的数组组合有 [10, 5],[5, 5],[10, 5, 5, 5],[2, 2] 等。
数组 [10, 5] 表示 “10px 实线” 和 “5px 空白” 重复拼凑而成的线型,[10, 5, 5, 5] 表示 “10px 实线、5px 空白、5px 实线、5px 空白” 重复拼凑而成的线型。
示例:
ctx.setLineDash([10, 5])
ctx.strokeRect(50, 50, 80, 80)
效果如下:
2、设置虚线偏移量
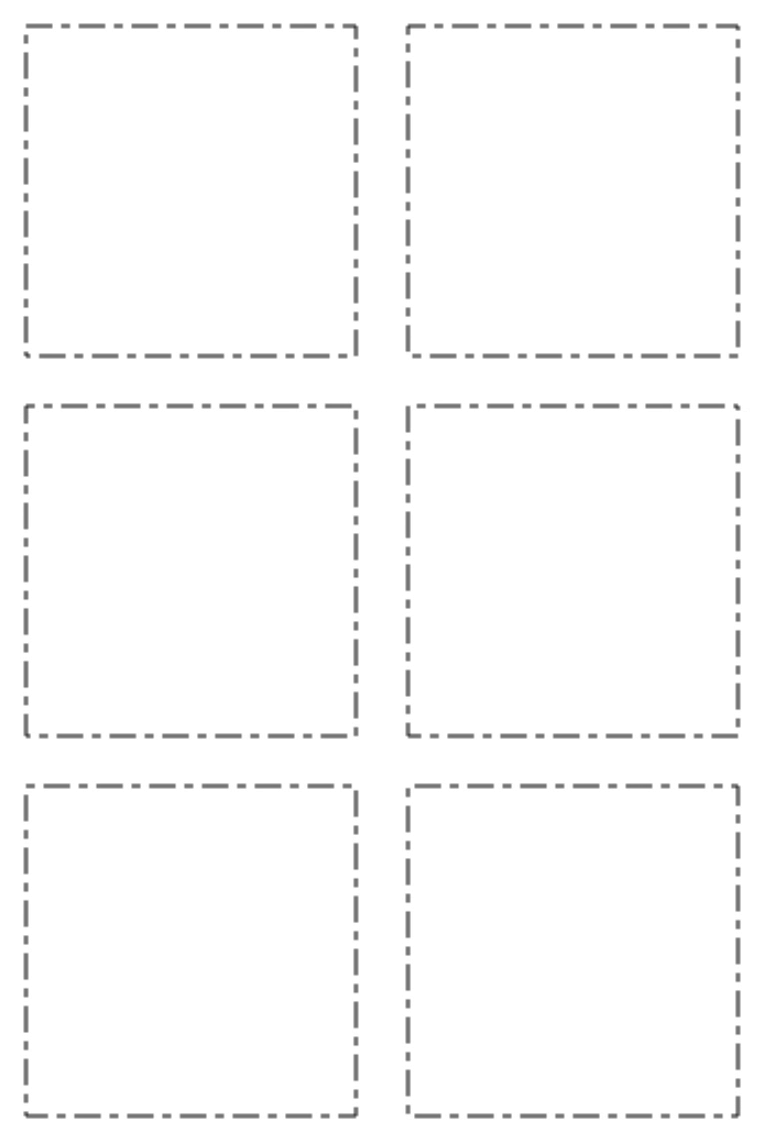
lineDashOffset 可以设置虚线的偏移量,默认值为 0.0。
利用这个偏移量,可以让虚线“动起来”,俗称“蚂蚁线”:
let offset = 0;

function draw() {
  ctx.clearRect(0, 0, canvas.width, canvas.height);
  ctx.setLineDash([4, 4, 12, 4]);
  ctx.lineDashOffset = offset;
  ctx.strokeRect(20, 20, 150, 150);
}

function march() {
  offset++;
  if (offset > 24) {
    offset = 0;
  }
  draw();
  setTimeout(march, 20);
}

march();
效果如下:
3、获取当前线段样式
getLineDash() 用于获取当前线段样式,返回一个描述线段和间隔的数组。
如果数组元素的数量是奇数,则数组元素会被复制并重复。
ctx.setLineDash([5, 15]);
console.log(ctx.getLineDash()); // [5, 15]

ctx.setLineDash([5, 15, 5]);    // 数组元素的数量是奇数
console.log(ctx.getLineDash()); // [5, 15, 5, 5, 15, 5]